Preparing SVG Image
Overview
In this article you will find a process of creating an SVG picture suitable for using in AnyChart Seat Maps. Adobe Illustrator is used here for drawing a picture, but it is possible to use any other SVG supporting program.
Creating a picture
Let's create a picture as a usual project in Illustrator, using its basic components and tools. Let's draw a simple house plan. For drawing use a "figures" and a "feather" tools for creating squares, circles, polygons and curves.
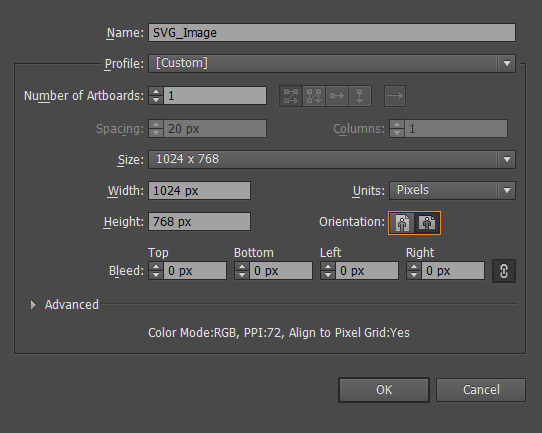
Create the image file: "File" -> "New":
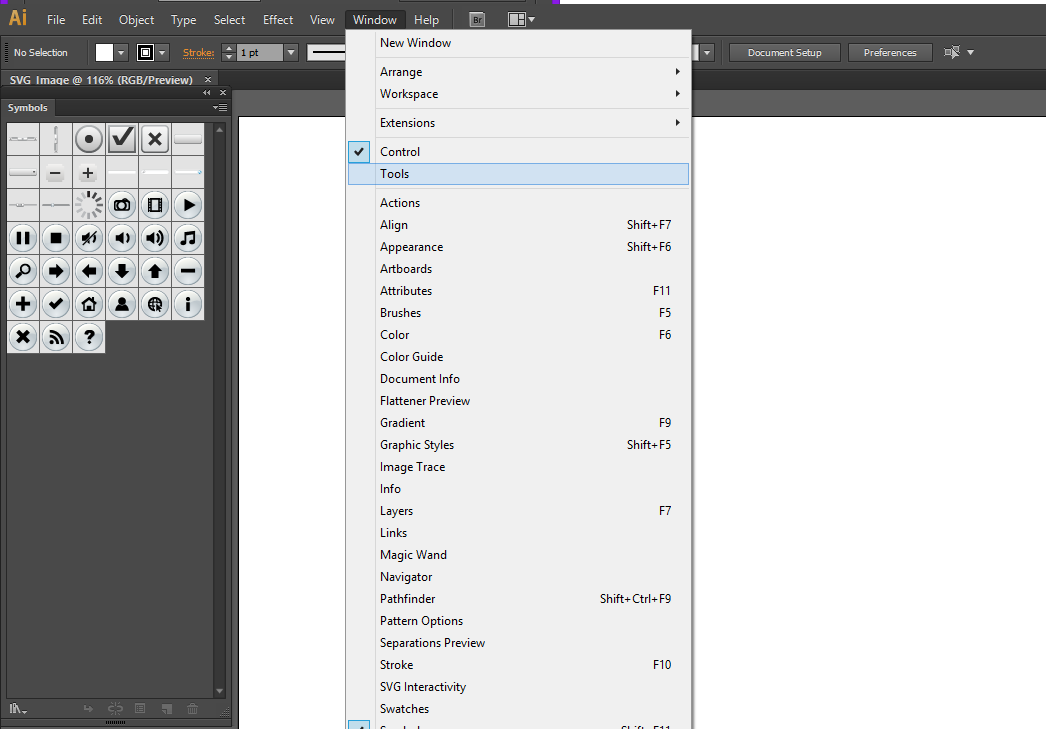
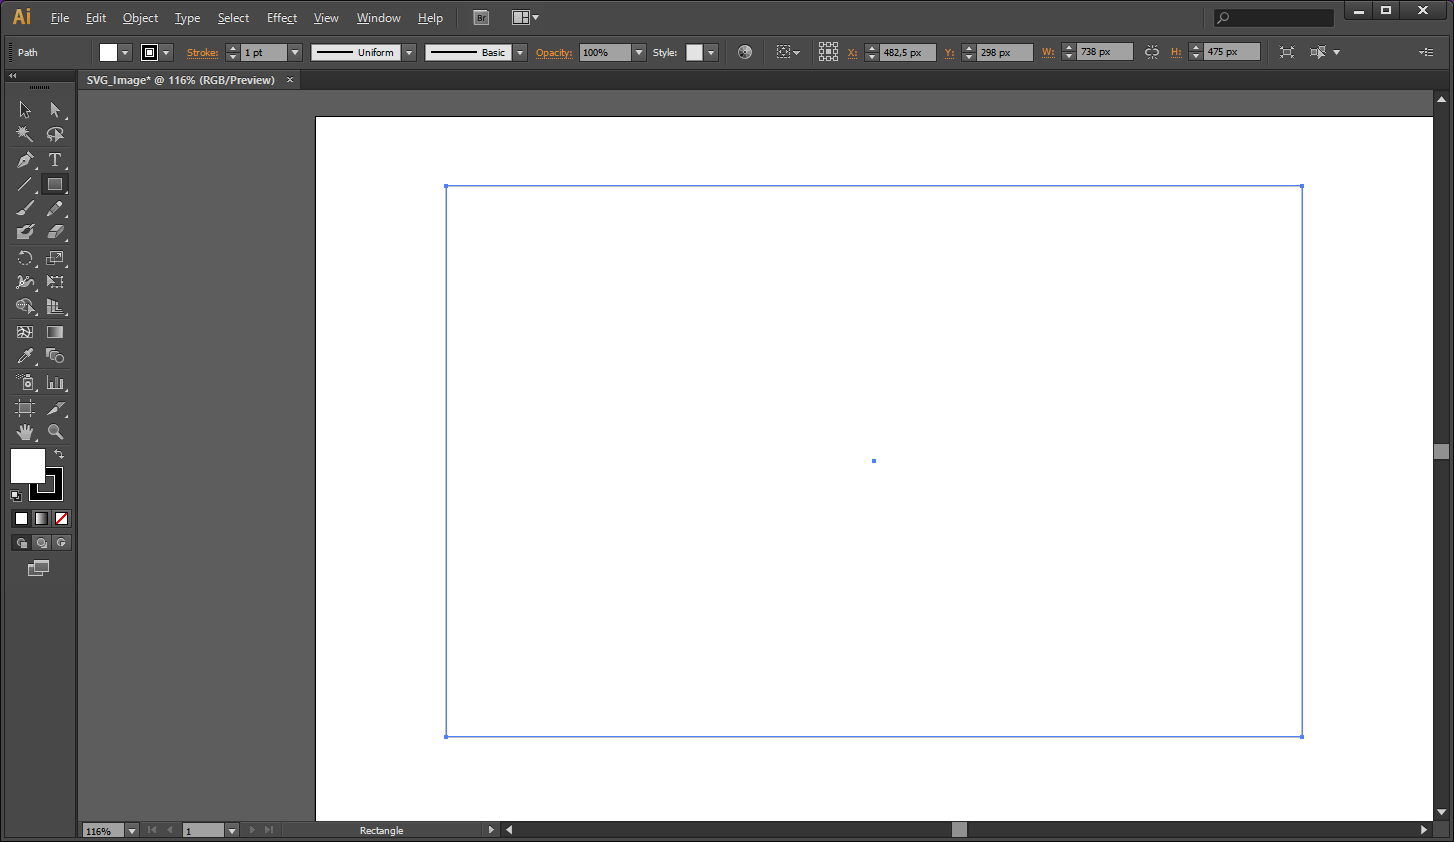
Let's first define the perimeter and form of the house and use a "Rectangle Tool" to draw a rectangle. If the window with tools is not visible, click "Window" in the main menu and choose "Tools".
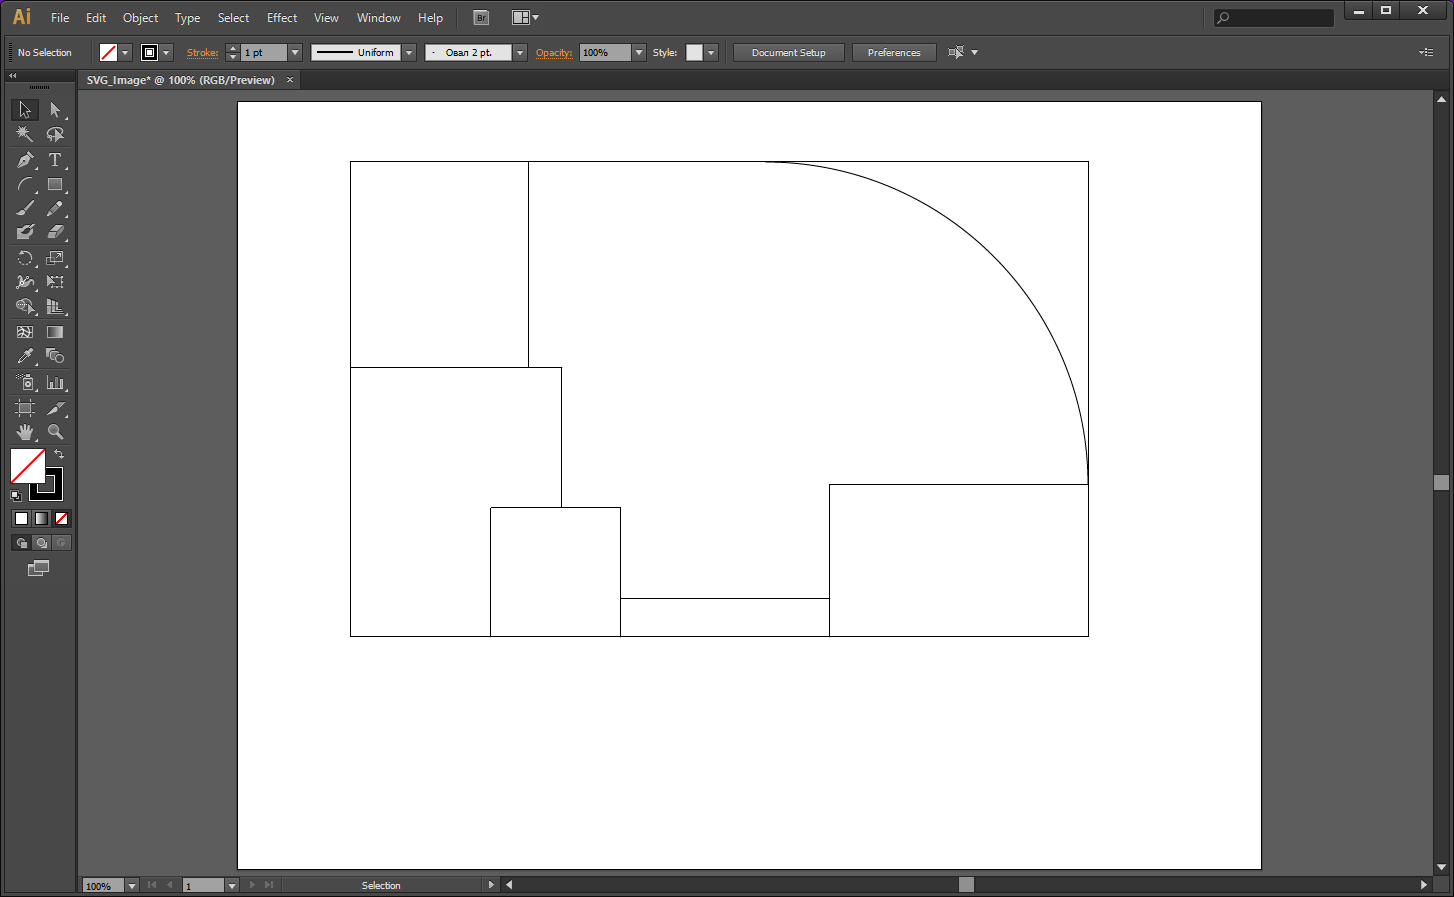
Now, it is possible to draw the walls and partitions inside, forming the rooms. You can use several tools: Line Segment or Arc Tool (they both are under the same picture of Line Segment Tool, to show other variations of Segment tools, click on the Line Segment Tool and hold the mouse button for a couple of seconds), Rectangle Tool and its variations, Pen Tool, and the Slice Tool might be quite useful for planning. Let's use Line Segments to draw the walls.
Note: to draw a straight line or curve at an angle, multiple of 45°, hold the Shift key on your keyboard while drawing.
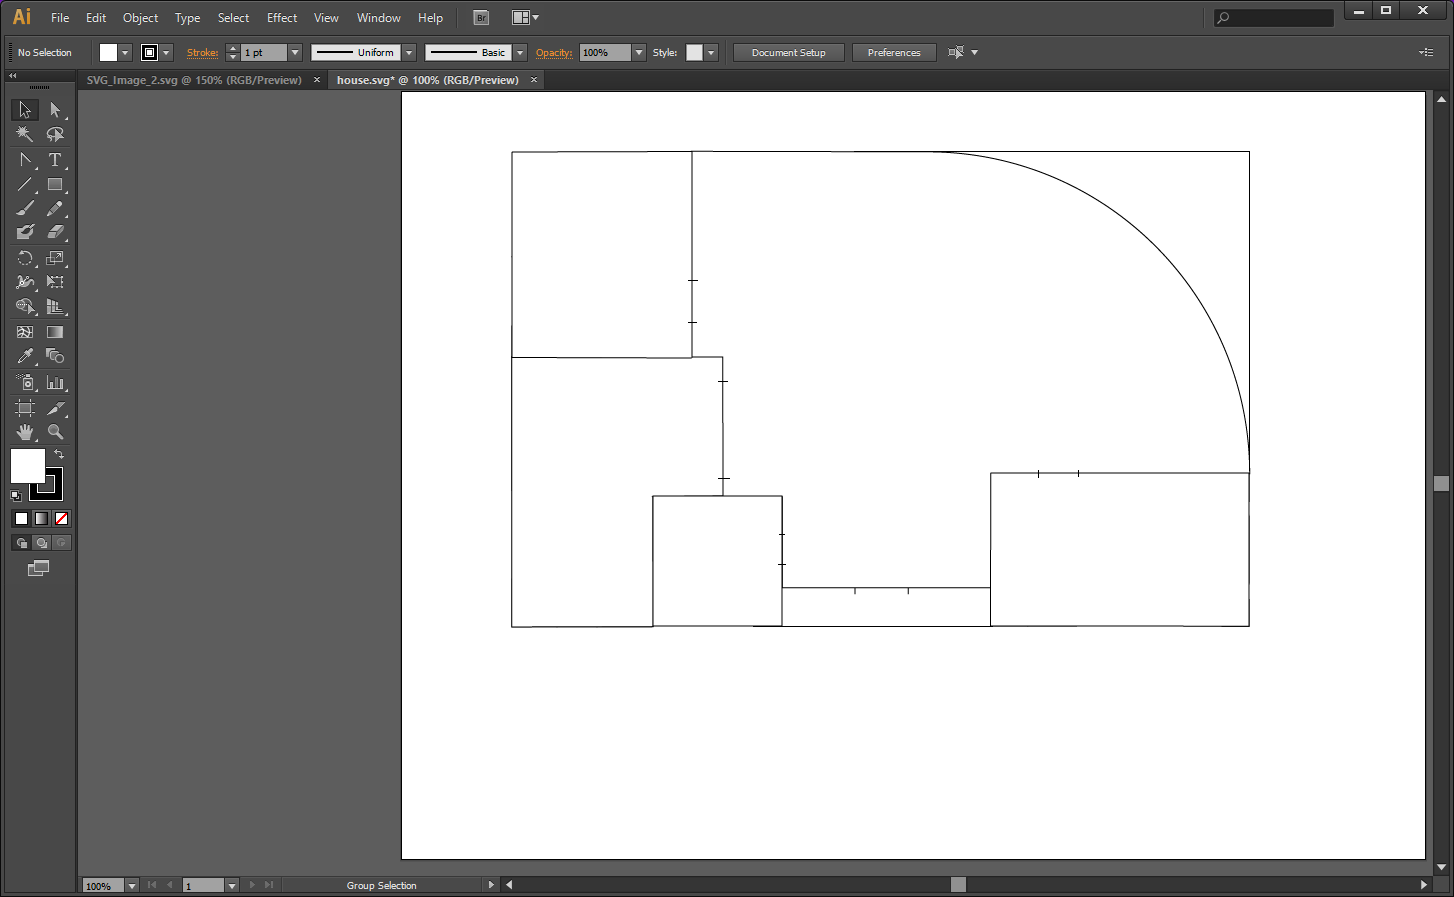
After the walls are drawn, it is time to draw the doors. In this plan they are marked as two short lines on a wall.
Now, let's get rid of the extra elements like paths and parts of figures that are not necessary anymore.
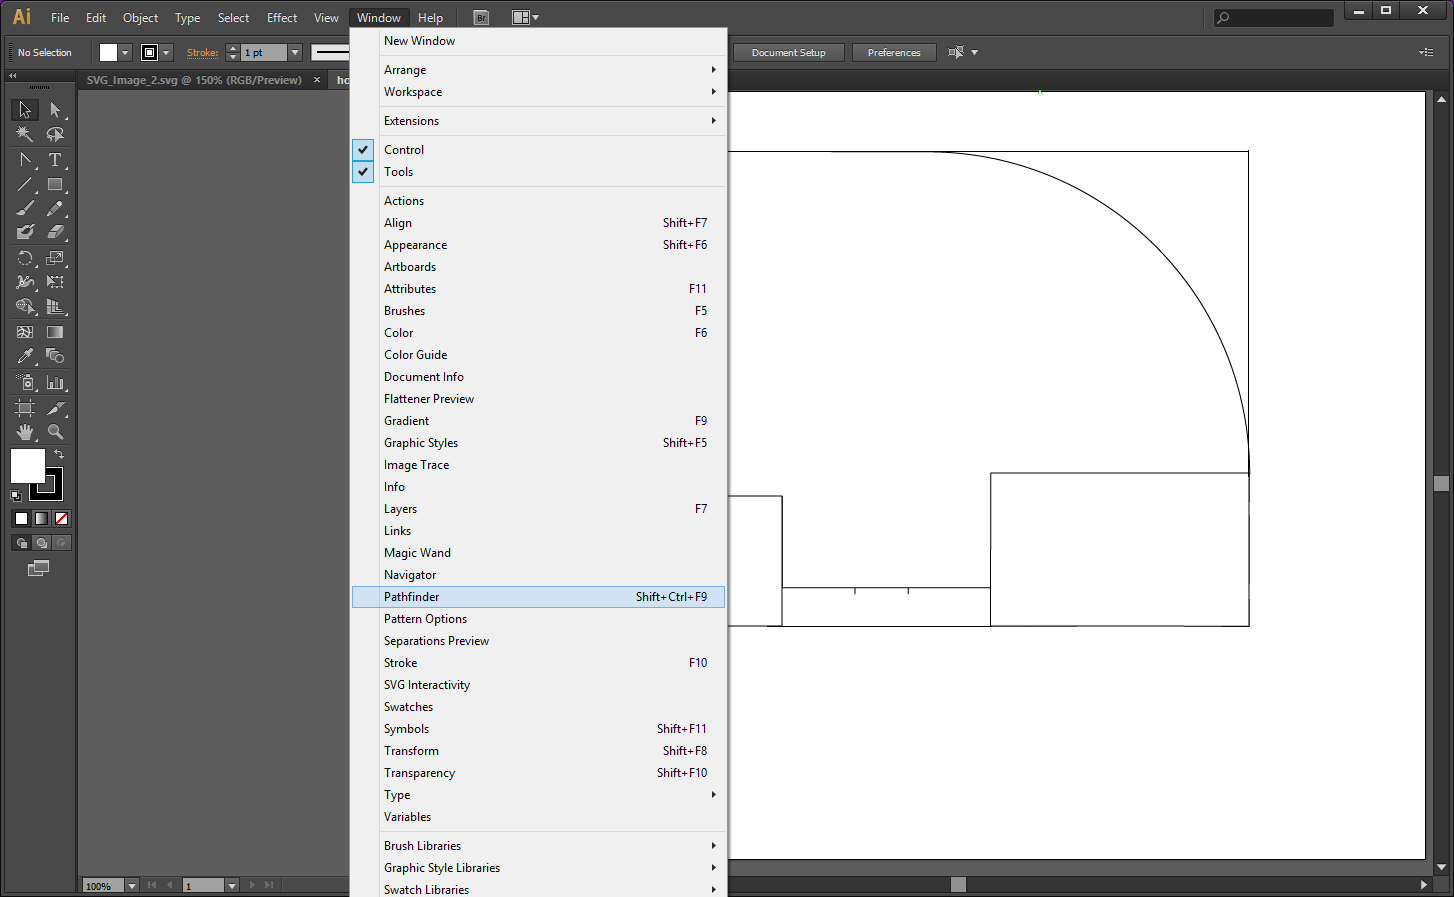
Adobe Illustrator has a panel of tools, which is very useful in some cases about shapes and figures. For example, on the current plan, the shape of the house perimeter is complicated: the main entrance is not on the same line as surrounding rooms, and the hall has got a full-height window in a shape of arc. Let's subtract the small rectangle that barricades the entrance and the hall room with the arc-shaped window out of the big one that was initially drawn as a guide perimeter. Press "Window" in the main menu and find the "Pathfinder" tool, or simply press Shift+Ctrl+F9.
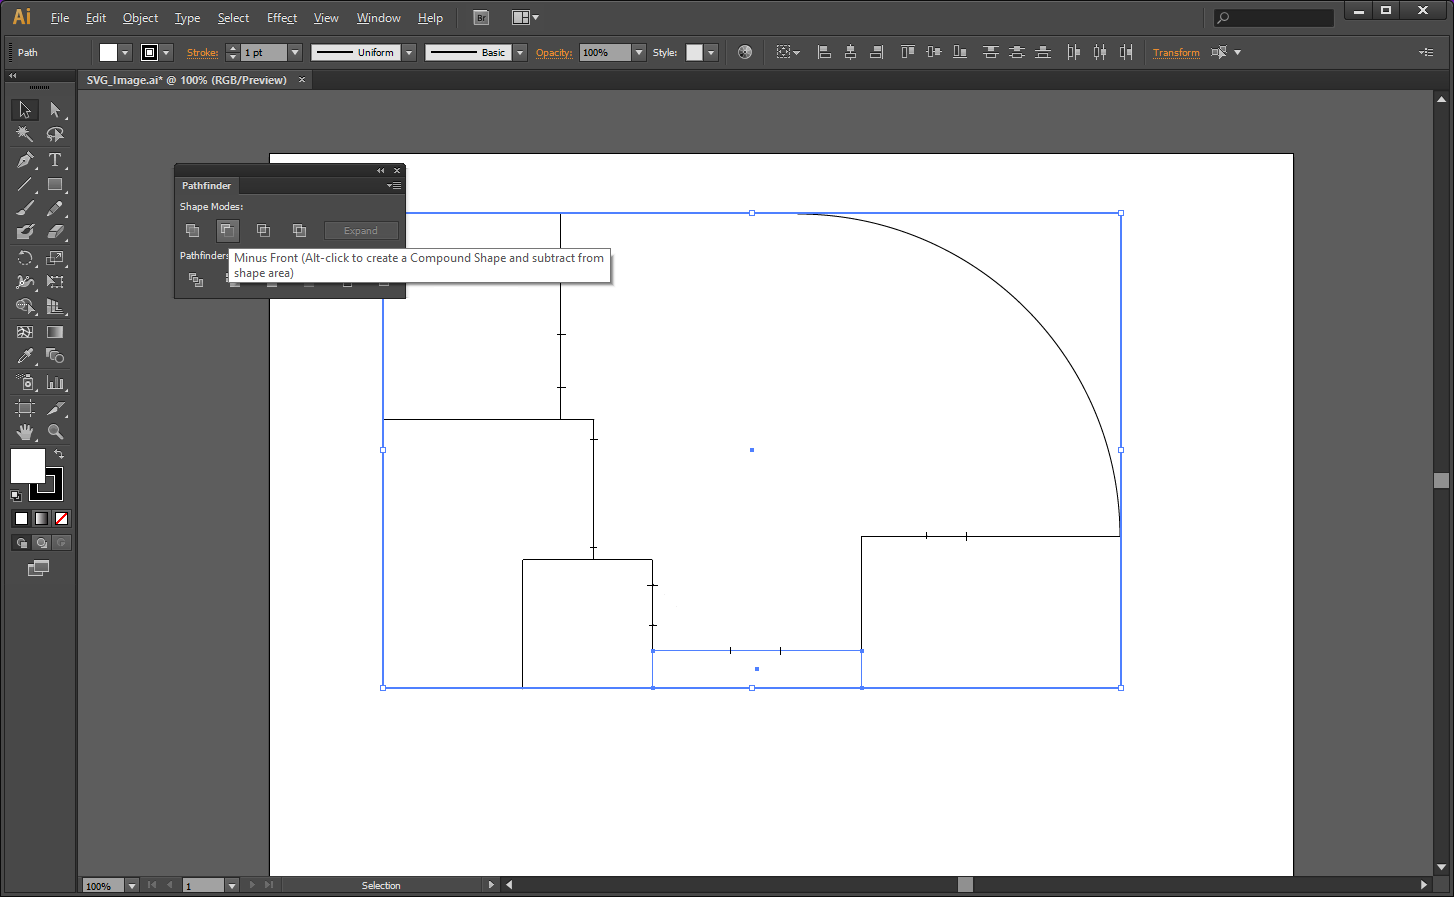
Select those two shapes that you need to subtract one from other: the first one to select should be the one to subtract. Hold the Shift key while selecting the shapes. Then choose the "Minus front" button from the Shape Modes on the Pathfinder tab.
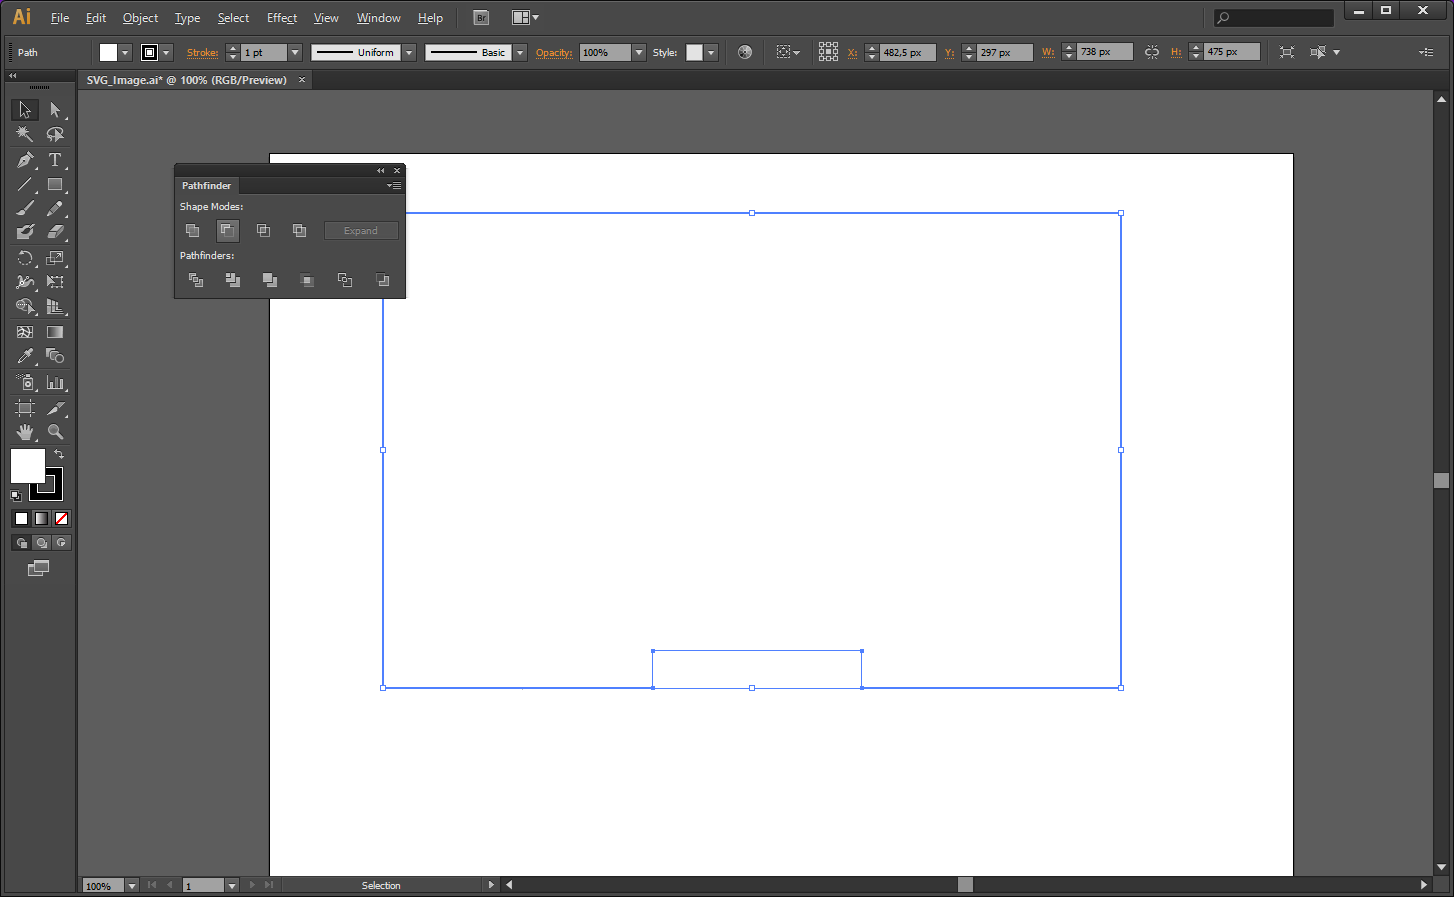
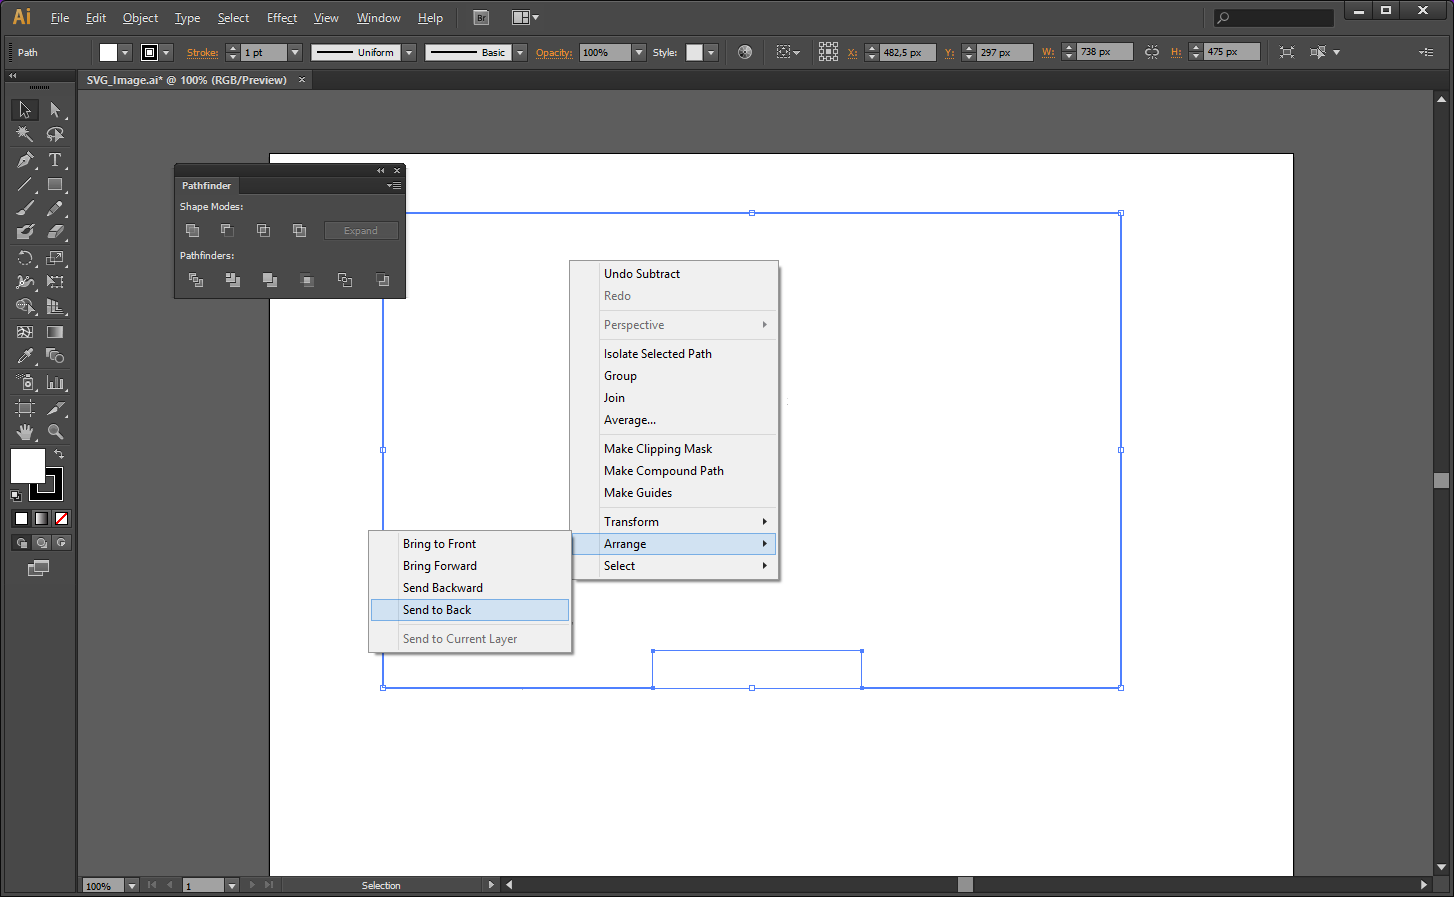
The picture below demonstrates a situation you may get into: a new shape comes to the front layer and covers almost everything.
Right-click on this shape and choose "Arrange" -> "Send to back".
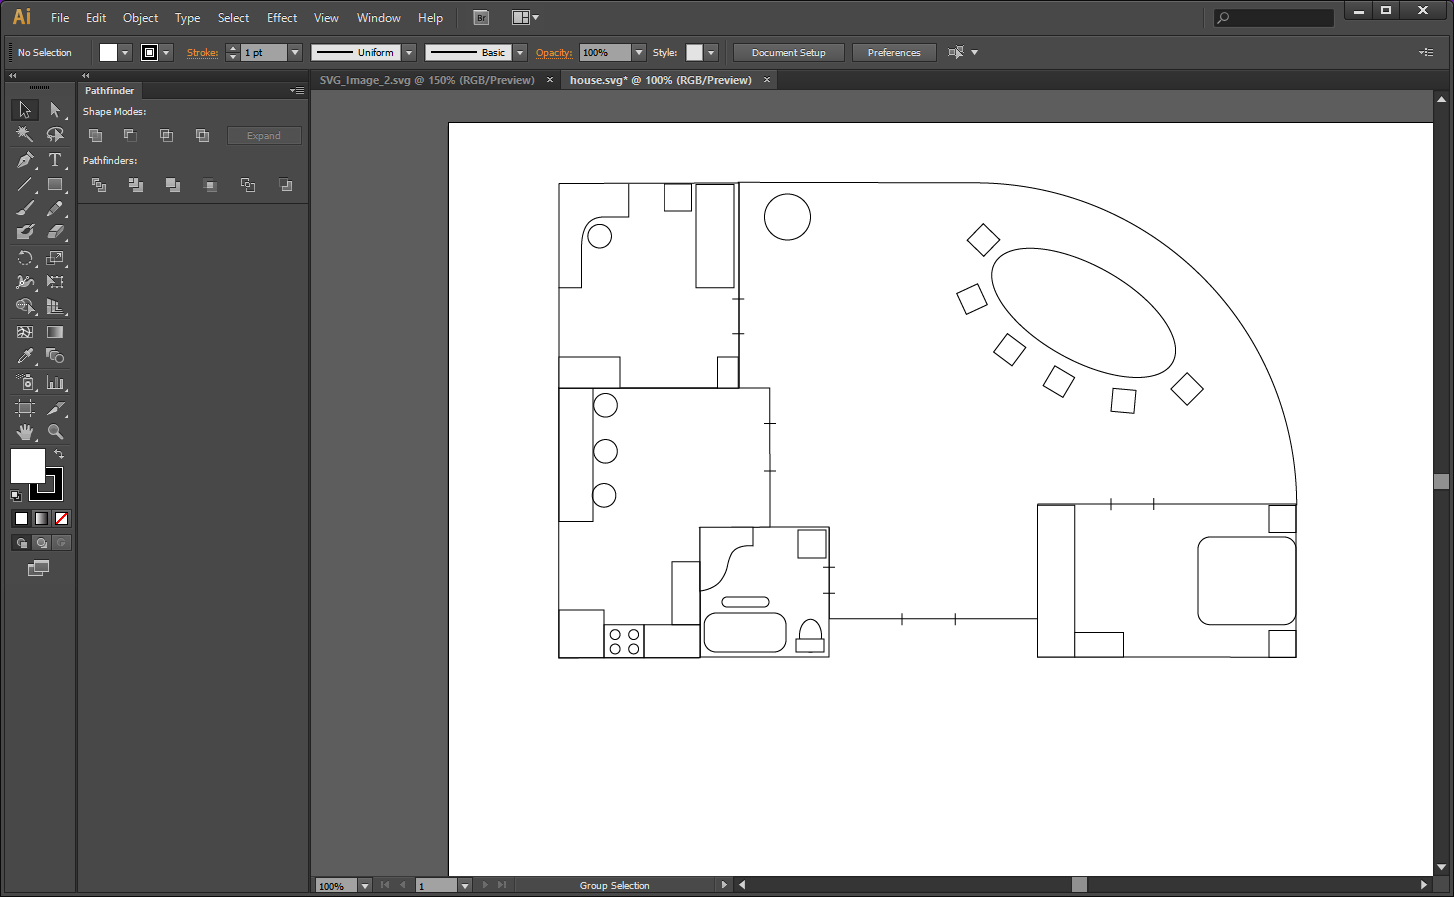
Now, the layout with the house is visible again. Let's add some "furniture" into the plan.
The Rectangle, Line and Arc Tools were used in creating the picture above. This picture is unfinished yet, being only a basis for the working SVG file. Now it is time to work with grouping to have each room as a group, which will help to make the map interactive.
Grouping
To make the image suitable for AnyChart Seat Maps, group elements in a way it is convenient to work with them. It is better to outline each room as a separate path, so they will become separate shapes.
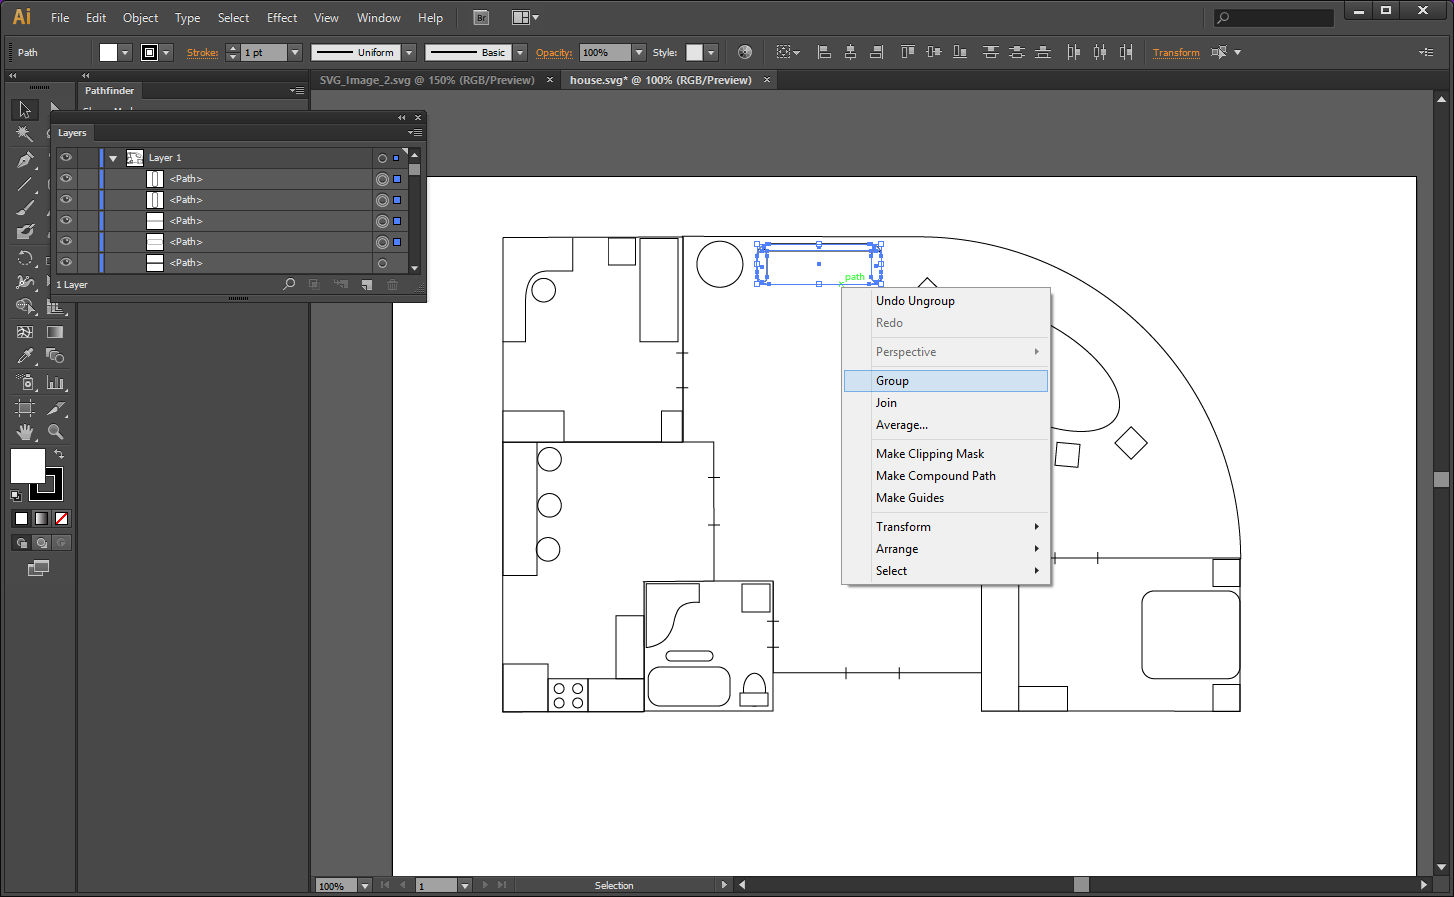
To group several elements, select all of them, right-click and select "Group". Don't forget to join the paths if you used lines/arcs for drawing, otherwise you will have no opportunity to fill the objects with color.
Do the same with the walls to form the rooms as groups.
After each room becomes a separate group and all groups are ready for the further transformations, you can go to the next step and set the IDs.
Setting ID
Setting IDs for the groups helps to manage the last ones as Map points (regions).
There are two options: you can set the ID in Adobe Illustrator or do it through the code.
Adobe Illustrator
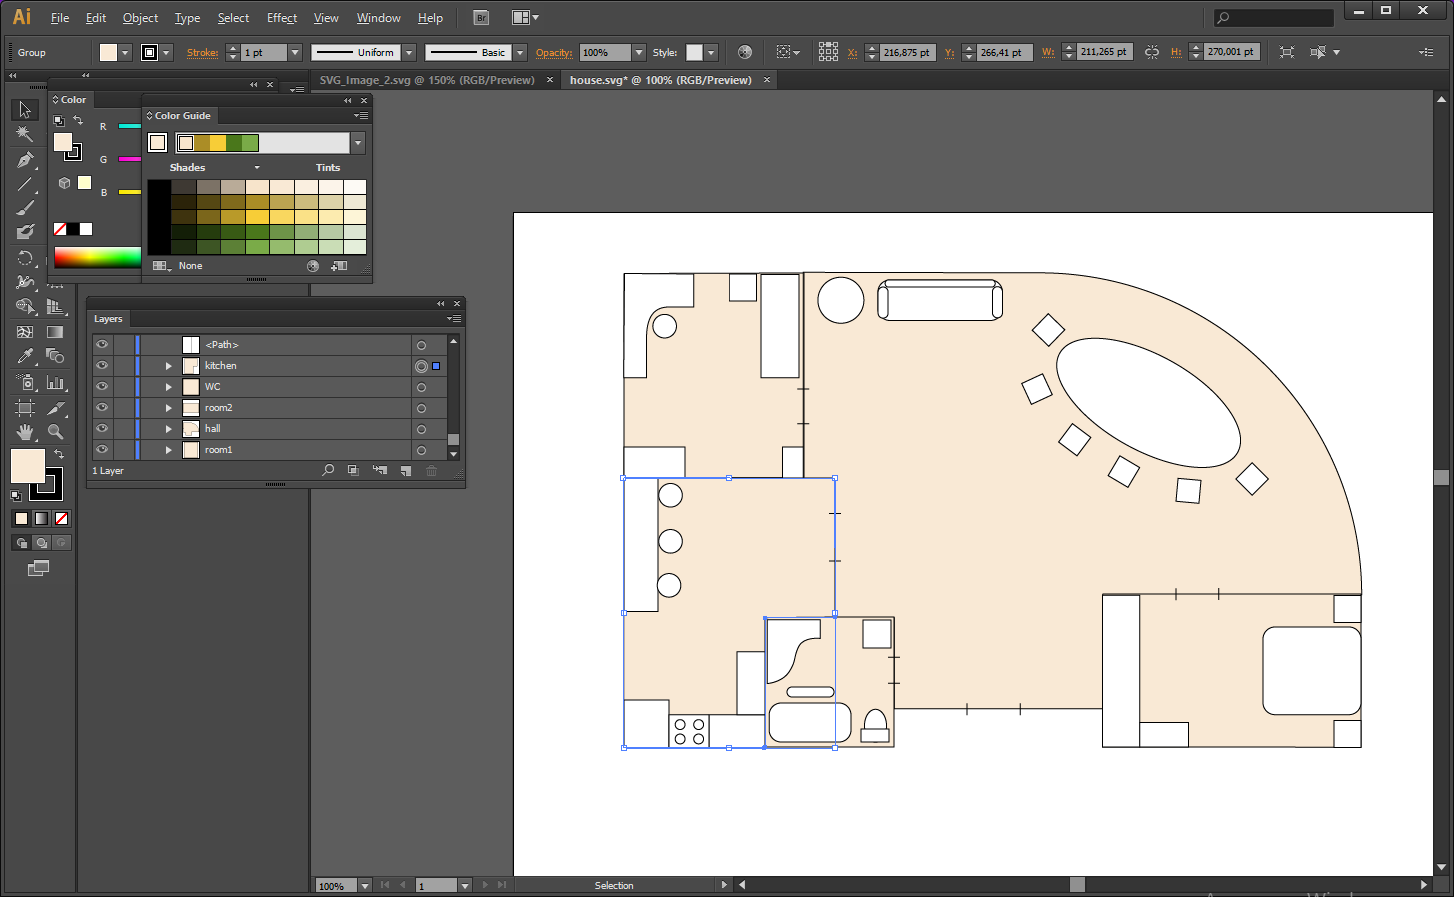
In the previous picture you can see a new window with Layers. To enable it, click on the "Window" in the menu and choose "Layers".
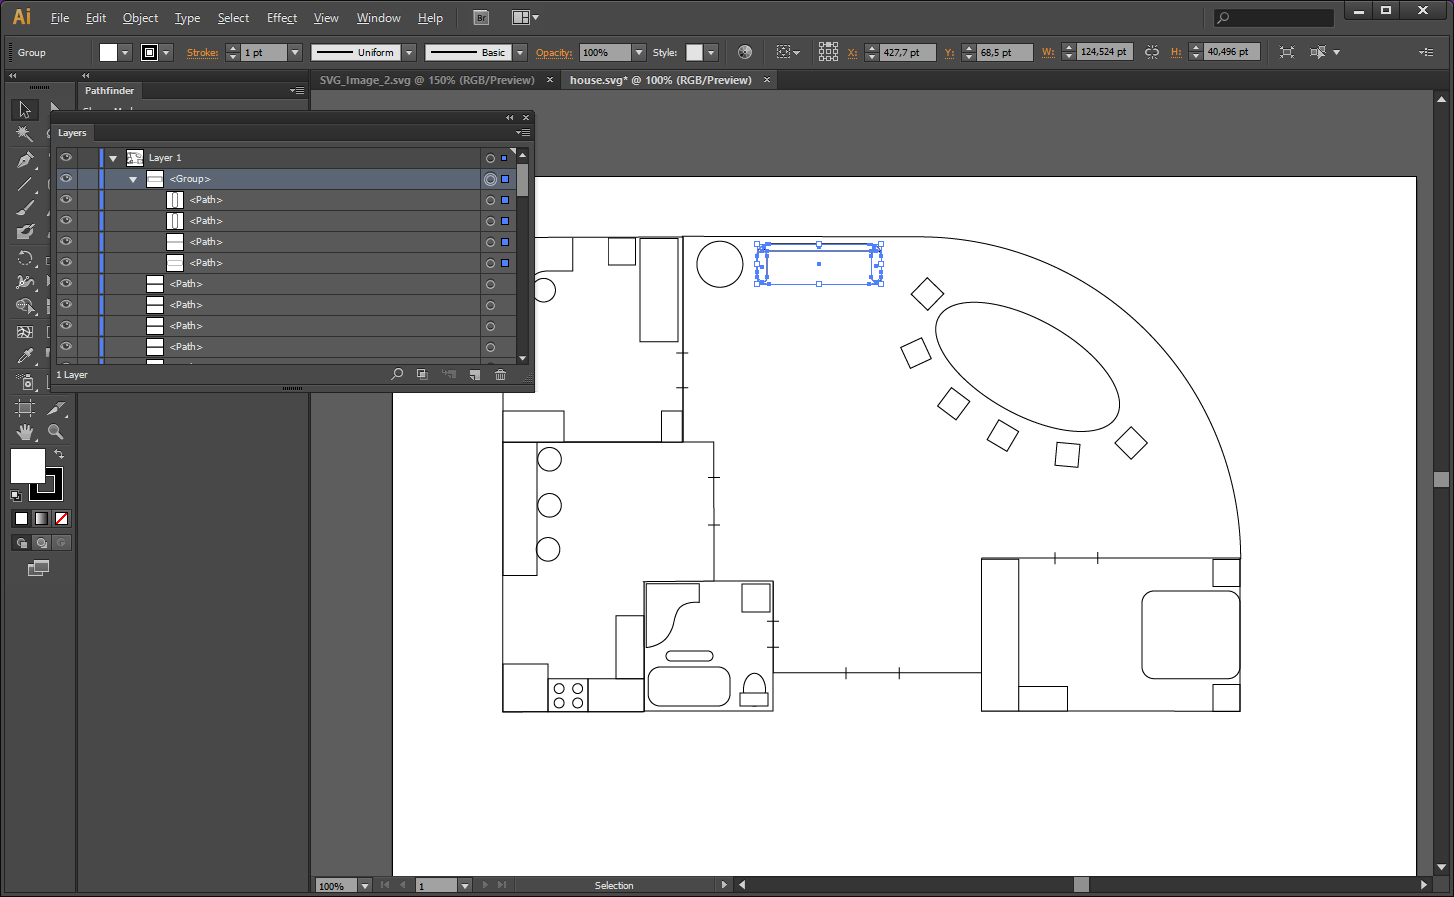
After all room in your picture have become groups, the window with Layers will show the groups and their components.
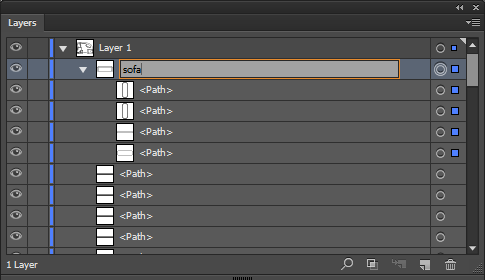
Note that there are blue indicators in front of objects' names (the picture below). They show the chosen (highlighted) element. Note that there is a group with no name and several paths inside. This group represents the sofa. To give it a name click twice on the <Group> and enter the preferred name. Let it be "sofa".
Now, do the same with the rooms.
It is a good idea to group lines, curves and shapes that form doors and furniture and put them inside of the groups of those rooms they belong to. The "Layers" window shows the content of the groups.
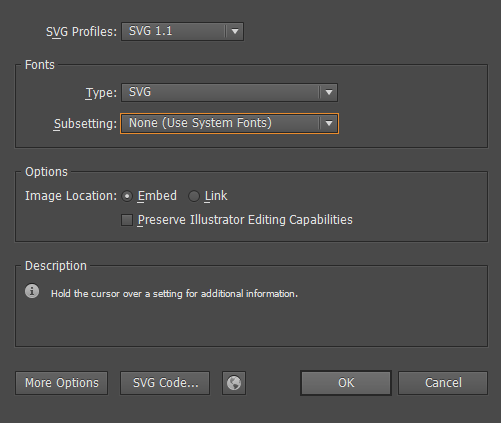
Save the picture in .SVG format.
Another way to set the names for groups is to do it through the SVG code of the file.
SVG Code
Open this file in any editor that supports SVG files. Look through the code. All "g" tags mean "groups" - those groups which creation is demonstrated in the picture before. Add the "id" field to each group you need to manage. Remember that IDs have to be unique.
<g id="kitchen">
<polygon fill="#DDD1B3" stroke="#000000" stroke-miterlimit="10" points="252.5,535 252.5,406 252,405.5 322,405.5 322.5,405
322.5,266 323,265.5 112,265.5 111.5,266 111.5,536 111,535.5 251,535.5"/>
<text transform="matrix(1 0 0 1 142.2422 345.1572)"><tspan x="0" y="0" fill="#996633" font-family="'ArialMT'" font-size="15.9953">Kitchen & Dining room</tspan><tspan x="31.264" y="19.194" fill="#996633" font-family="'ArialMT'" font-size="15.9953">13' 0" x 16' 0"</tspan></text>
</g>
Inline groups might have their own ID's due to some reasons. Elements inside of the groups might have classes; set classes to each element you need to react on being hovered over or selected. All elements that belong to the same class have the same interactive settings, so be careful with setting them. Set the classes to the texts.
<text class="info" transform="matrix(1 0 0 1 172.5244 131.3237)"><tspan x="0" y="0" fill="#996633" font-family="'ArialMT'" font-size="16.6934">Room 1</tspan><tspan x="-21.189" y="20.032" fill="#996633" font-family="'ArialMT'" font-size="16.6934">11' 0" x 13' 0"</tspan></text>
If there are lines demonstrating some extra elements not necessary anymore, find these lines in the code of the SVG image and simply delete them. This will simplify your work with the file.
Now, the SVG image is ready for the further work and transformations. For more info & tutorial, open the Seat Map article.
You can download the SVG file used in this article.
